The U.S. Banking System: A Guide for New Immigrants
If you’re planning on living in the United States on a permanent basis, there are a few things you’ll need to do as soon as — if not before — you arrive. If, for instance, you don’t already have a job, you’ll need to find one. And with that new income, you’ll need to have a place to put your money, which means you’ll need to open a U.S. bank account.
With a bank account in place, you’ll be able to do things like:
- Set up automatic withdrawals for rent and utilities
- Access funds without having to wire money
- Write checks
- Use finance apps like Mint.com
In this article, we’ll cover the basics of the setting up an account at a U.S. bank, how to write a check, and how to schedule automatic withdrawals.
Opening an Account

U.S. banks will generally allow non-U.S. citizens to open an account but may not grant the same permissions to someone who fails either the green card test or substantial presence test. If you have a green card, then you’re in the clear. Otherwise, you’ll likely need to pass substantial presence test.
To pass this test, you must have lived in the United States for:
- 31 days in the current year, and
- A total of 183 days during the past 3 years — that’s including the current year plus the two years prior. To tally this total, you can count all the days you lived in the United States in the current year but only ⅓ of the days from the previous year and ⅙ of the days from the year before that.
For a more detailed explanation, see the Internal Revenue Service (IRS) website.
To be clear: it may still be possible to open an account even without a green card (or any documentation, for that matter). You will, however, need to have an Individual Taxpayer Identification Number (ITIN) and a U.S. address, at minimum. Ultimately, you’ll want to contact the bank to see what their policy is in this regard.
Documents
If you think you’re eligible, then you’ll need to gather certain information and documents to open an account. These generally include:
- Cash deposit: Anywhere from $25 to $100
- Your name, phone number, and address(es)
- A social security number (SSN). If you don’t have an SSN, you could opt to use an ITIN
- Utility statement containing U.S. address
- Two forms of government-issued ID. Examples include:
- Your passport with the visa inside
- Driver’s license, whether U.S. or foreign
- Work I.D. card issued in the United States
- Retail credit card
This is just a general list, and different financial institutions may have different requirements, so be sure to call ahead of time. If you don’t have a green card or a Social Security number, you may have to actually go to the brick-and-mortar bank, rather than apply online. But, again, requirements will vary depending on the financial institution.
If you’re eligible for a Social Security number but haven’t gotten one yet, read our guide on the subject to learn more about the process.
Applying for an ITIN
To apply for an ITIN, you’ll need to submit IRS Form W-7, your immigration status documents, and proof of identity — together with your federal income tax return. You can use any of the following options to apply:
- Submit via U.S. mail to the Austin Service Center (see below)
- Apply in person with an authorized Certifying Acceptance Agent
- Attend an appointment at an IRS Taxpayer Assistance Center
If submitting via U.S. mail, you can send your documents to the following address:
Internal Revenue Service
Austin Service Center
ITIN Operation
P.O. Box 149342
Austin, TX 78714-9342
Once you successfully obtain an ITIN, you won’t need to go through this process again. You can file your income tax return according to the normal filing instructions.
Writing a Check

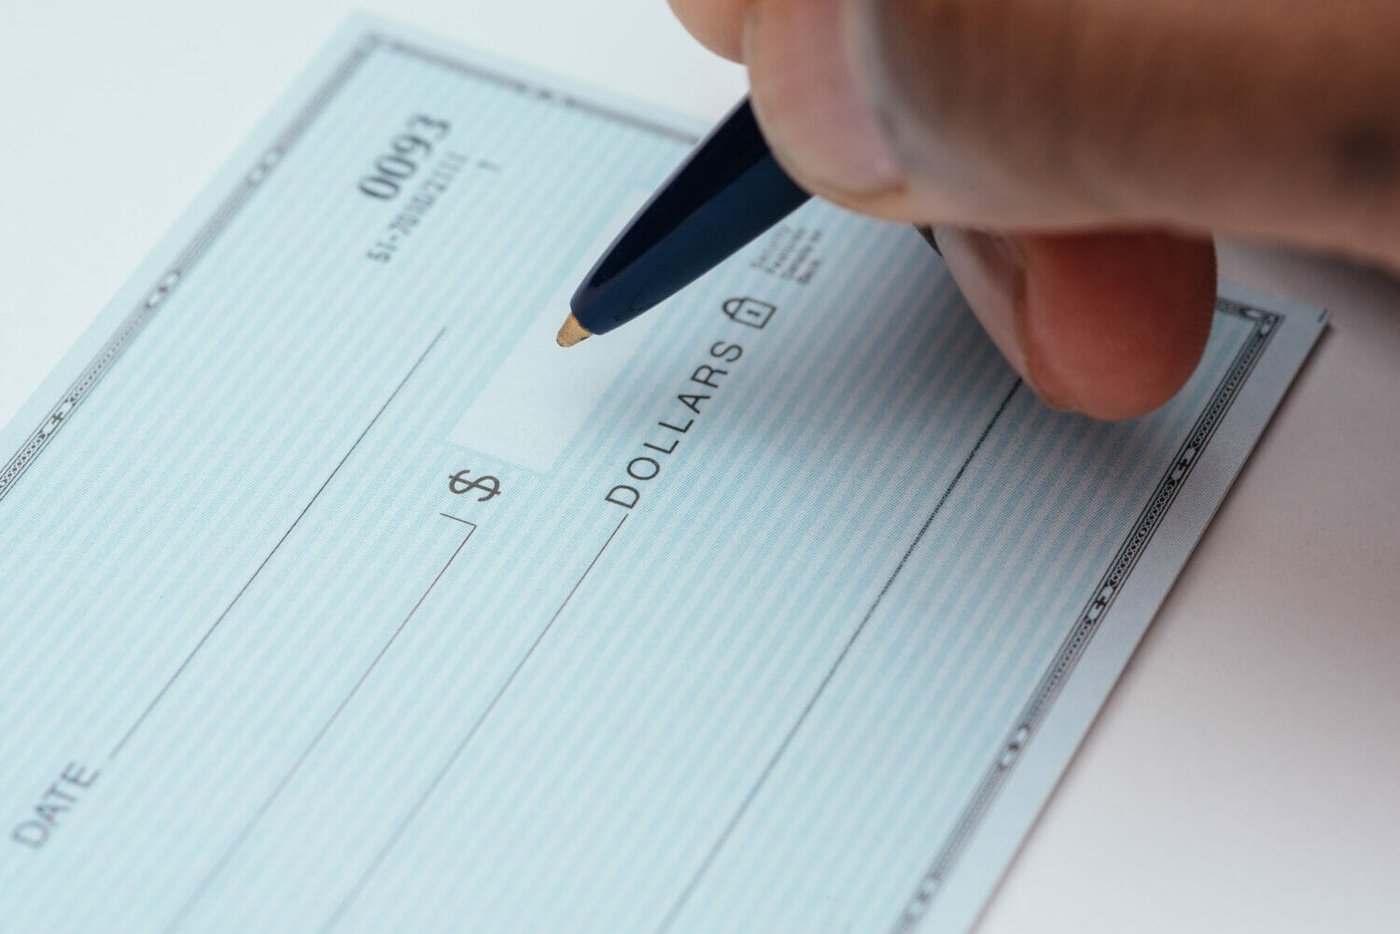
To write a check in the United States, you need to fill in all the appropriate spaces. In the following section, we’ll explain how to fill out a check, working from the top to the bottom.
- Write today’s date. It’s important that the bank knows when the check was filled out. There’s a difference between a check written in 1986 and one filled out last week.
- Specify the check’s recipient.You’ll want the bank to know who this check is for. You can write the name of the person (or the company) on the line next to the phrase, “Pay to the order of.”
- Fill in the amount using digits. After you write the recipient’s name, you should find a box to the right with a dollar sign next to it. Write the numeric amount — $50.30, as opposed to “fifty dollars and 30/100” — in this box.
- Fill in the amount using words. On the next line down, you will need to write the amount with words — “Fifty dollars and 30/100”, as opposed to $50.30. Even if you’re writing an even dollar amount (without cents), you should still include the fraction. So, if you’re writing a check for $50.00, you should still write “Fifty dollars and 00/100.”
- Include a memo. At the bottom of the check, you should see a section marked “memo.” Here, you have the option to write the purpose of the check. If, for instance, the check is for rent, you can write “Rent for August.”
- Add your signature. Finally, on the remaining line, you will need to sign your name, telling the bank that you agree to pay the amount specified above.
Once the check is complete, you can hand it over to the recipient, who should then be able to cash it at their financial institution.
Setting Up Automatic Withdrawals
Having a U.S. bank account will allow you to set up automatic payments for any recurring (or one time) bills. If setting up automatic withdrawals via your bank, you’ll need the pertinent information for the payee, including their address and account number, which you can usually find on the most recent bill. If you’re using the payee’s website to set up the transaction, you’ll need to provide your account and routing numbers.
Where will you find these numbers? You can simply look at your checks. Each check should contain the routing number (which identifies the bank), your account number (which specifically identifies your bank account), and a check number (which helps you keep track of the number of checks you’ve written).
Each number will be listed in succession at the bottom of the check. The routing number is first, at the bottom left, and is 9 digits long. The other numbers will be to the right, though they may be in any order. Just know that the account number is the longer number.
Remember, every financial institution is different, so you’ll need to do some research ahead of time. The bank website is usually a good place to start. They’ll usually have a help section containing a list of questions or topics to guide you. Alternatively, you can call the bank directly, though you may end up having to wait on hold before speaking to a representative.
If you’re looking to move to the United States, but you’re having trouble getting started, reach out to Boundless today.
